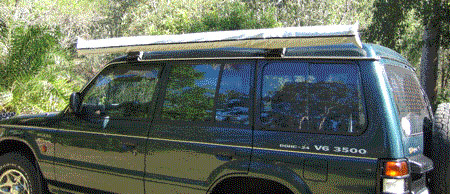
Step 1. The awning is transported neatly packed away in a heavy duty reinforced PVC bag mounted to the roof rack or bolted to the side of other vehicles.
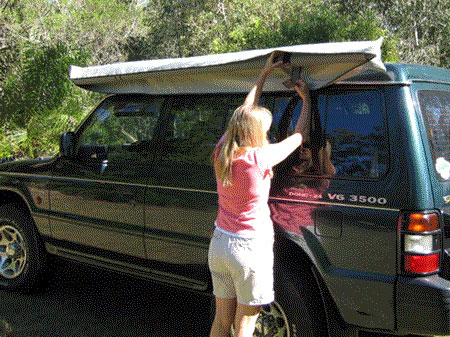
Step 2. Unzip the bag and undo both end Velcro tabs leaving the middle one done up.
Step 3. Pull out both spreader poles and while holding the roll, undo middle velcro tab and unroll the canvas.
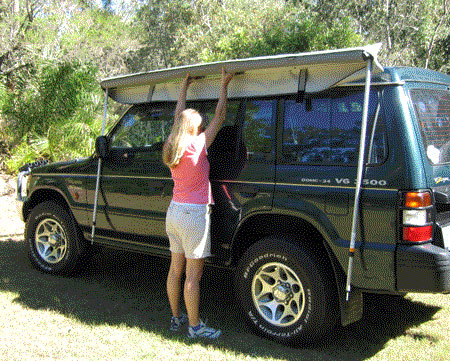
Step 4. With one end of the end aluminum resting on the ground, insert the spreader poll spigot into the 10MM hole in the other end of the aluminum channel. Adjust the length of the spreader pole and lock the pole in place by rotating it. Let the pole lower down to the ground.
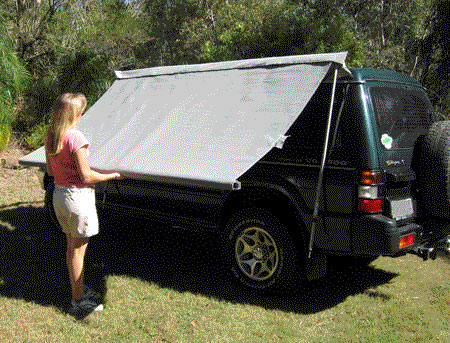
Step 5. Insert the other spreader poll into the other end and adjust the length of the spreader. Fold the last leg down and adjust the height of both legs.
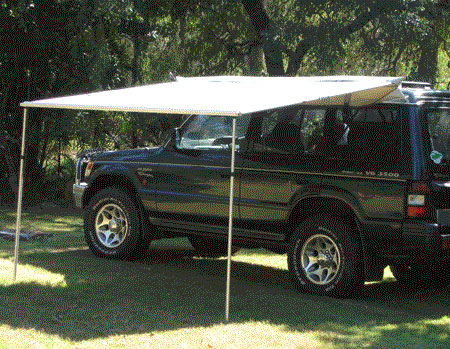
Although the awning will stand on its own, it is always best to use the ropes and suitable pegs in case of a strong wind developing that could blow the awning over the vehicle.
It is now time to relax in the shade.